By Bill Jones, Senior Solution Architect

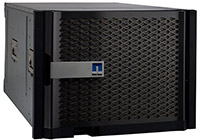
It’s April 2017, and NetApp’s FAS9000 is still very new. As someone who has been working with NetApp hardware since 1999, I was very excited to get my hands on this new gear and help a client stand it up in their data center. Last week, I got to do just that. It was awesome!
Along the way, we encountered an unexpected bump in the road, and documentation on this issue was difficult to find. This blog post is here to help others who find themselves facing the same challenge.
With the FAS9000 (and AFF A700) filers, 40GbE interfaces ship as part of the base configuration. Since these interfaces use the 40Gbase-SR4 standard, each 40GbE link can be broken out into four (4) independent 10GbE links. This is done with “breakout” cables, which can be either direct attached copper (QSFP to 4xSFP+) or fiber-optic (MPO to 4xLC). (Please consult the NetApp Hardware Universe for specific information on supported transceivers and breakout cables.)

STOP: Schedule a maintenance window!
STOP: Before attempting these steps, please consult with NetApp Support. In fact, having NetApp Support on the phone while making these changes is highly recommended.
STOP: This blog post assumes that the reader has a high level of NetApp administrative experience.
STOP: Dasher Technologies provides this information as a guideline only. Administrators implementing these changes do so at their own risk. Again, please consult with NetApp Support before attempting these changes.
With that being said, if you’re still with me, grab your towel and let’s begin…
Step 1: Cleanly halt/shutdown both nodes of the HA pair.
To make this change, we will need to boot each node into maintenance mode. When booting to maintenance mode, ONTAP 9 warns administrators that the other node of the HA pair should be powered off or halted before continuing to boot into maintenance mode. Heed this warning!
Step 2: Boot the first node into maintenance mode.
Step 3: Use the nicadmin command to change the 40GbE NIC’s personality from 1x40GbE to 4x10GbE.
For example, to change the 40GbE NIC e4e into four (4) 10GbE NICs named e4e, e4f, e4g, and e4h, type the following:
![]()
Please note that the “G” in “10G” is capitalized. The output of the nicadmin command should look like this…
Step 4: Power cycle the node for the change to be effective and replace the cable (if appropriate).
If this is the first node in the HA pair, remember to interrupt the boot process and boot to the loader prompt.
Step 5: Once the first node has booted to the loader prompt, repeat Step 3 and Step 4 on the second node.
Step 6: Cleanly power on both nodes of the HA pair.
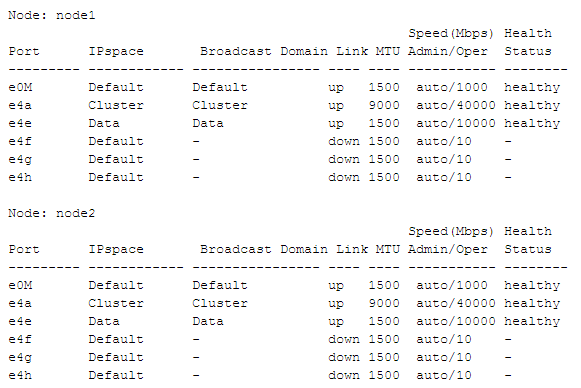
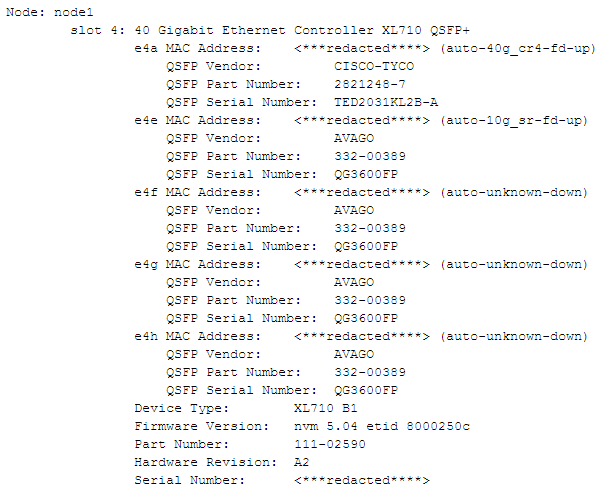
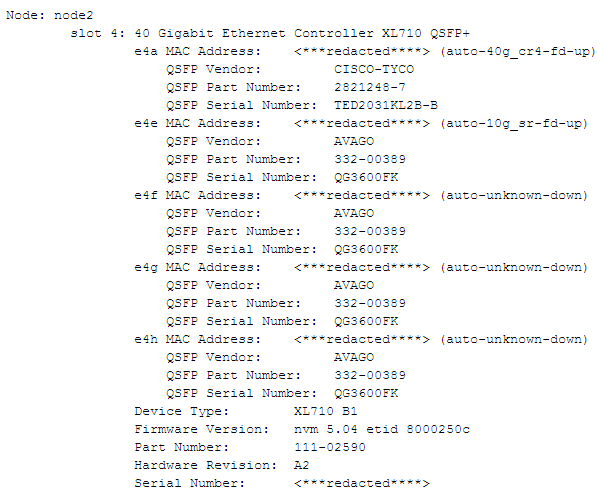
After both nodes of the HA pair have been powered on, you can confirm the success of the change in two (2) ways.
The first option is the “network port show” command, which should return a result similar to this…

The second option is the “node run -node * sysconfig -a 4” command. Its output should look similar to this…


Your NetApp Array should now be properly configured with 4x10GbE connections on each node. For more information about this topic, check out the NetApp Community post which you can find here.


